
Cake yeast, also called fresh yeast or compressed yeast, is a living, moist block containing about 70% water, unlike its dry, shelf-stable cousins. You’ll find it pale and crumbly, requiring refrigeration in an airtight wrap where it stays viable for one to two weeks. When you activate it, crumble the yeast into warm liquid around 90°F to wake those dormant cells into foamy, bubbling activity, or blend it dry across your flour before adding warmed liquids separately.
Many bakers prefer its superior rise and nuanced flavor in traditional recipes, especially around holidays when it appears in dairy sections. Understanding conversion, storage, and substitution methods allows you to use this ingredient effectively.
What Is Cake Yeast? (Fresh Yeast Basics)
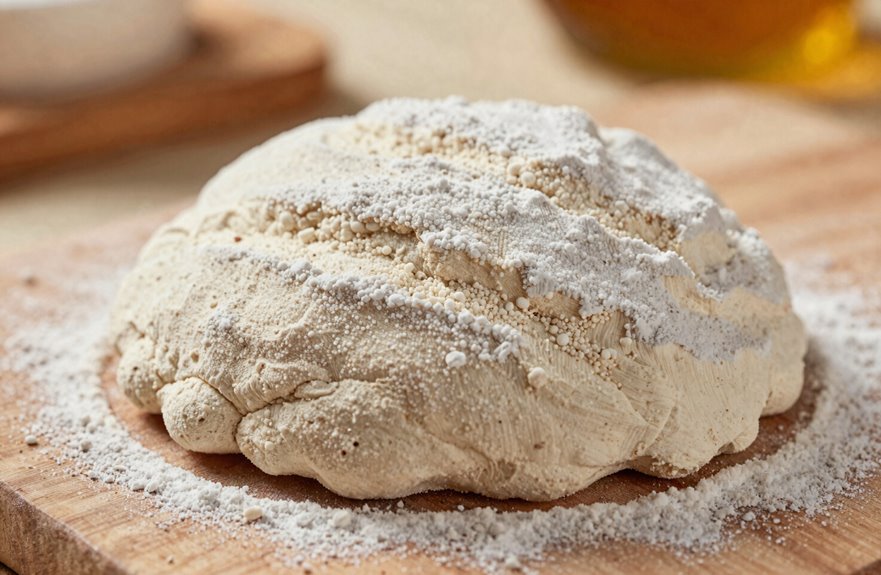
The living organism you hold in your hands is a pale, crumbly block of cake yeast, representing baking’s most direct connection to biological transformation. A tiny powerhouse waiting to awaken your dough with nothing but warmth, sugar, and time.
Fresh yeast, or cake yeast as you’re likely to encounter it, arrives as a soft, moist rectangle containing roughly seventy percent water, alive and eager. You’ll find it refrigerated in two-ounce portions, a fragile product with merely one to two weeks of viability before it fades. Your storage demands vigilance: keep it cold, use it promptly, for this living culture offers no forgiveness to procrastination.
When you’re ready, proofing becomes your ritual. Crumble the cake yeast into warm liquid, perhaps milk or water, watching it bloom and foam and confirm its vigor before you commit your flour, your effort, and your work to the mix.
Cake Yeast vs. Dry Yeast: Key Differences
Yeast selection shapes your baking results. Cake yeast carries seventy percent moisture, demanding refrigeration and offering merely one to two weeks of shelf life, while dry yeast remains stable in your pantry or freezer. You activate Active Dry Yeast through proofing by dissolving it in warm water until it blooms, though Instant Yeast blends straight into flour without this step. Cake yeast requires more effort: seeking it out, storing it properly, and using it quickly. Dry yeast offers consistency and wider availability. Both types produce risen dough, but cake yeast suits bakers prioritizing traditional results while dry yeast serves those valuing convenience and shelf stability.
How to Convert Cake Yeast to Dry Yeast
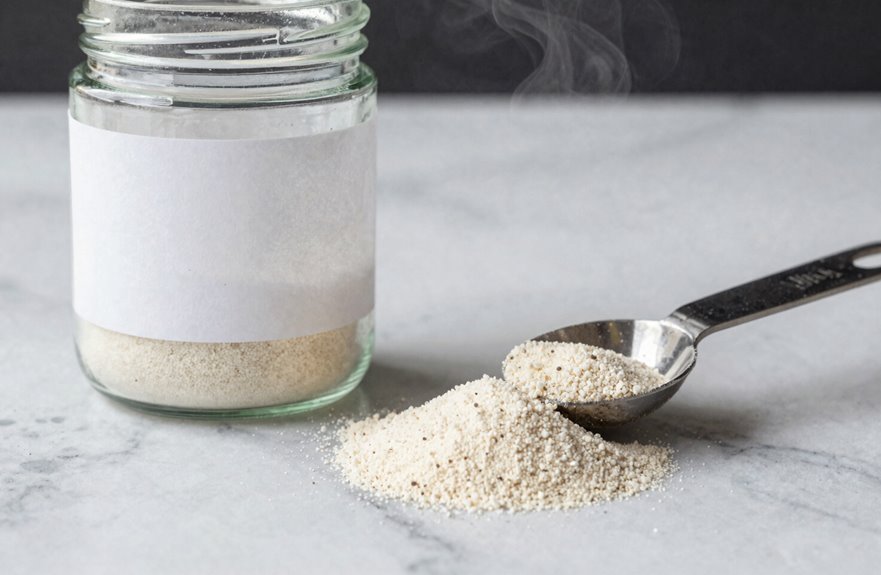
You’ll want to master the art of yeast substitution, since cake yeast isn’t always available. One 2-ounce cake equals three packets of active dry yeast, each packet holding 2¼ teaspoons, or you can weigh it out using slightly less than triple the amount by weight if you’re following Red Star’s precise guidance. When you make the swap, remember that dry yeast needs hydration, so you’ll reduce your recipe’s liquids by half a cup. This conversion allows you to achieve the same airy crumb and golden crust as cake yeast.
Understanding Basic Equivalents
Wondering how to bridge the gap between generations of bakers? You’ll find your footing through yeast conversion, the mathematical foundation of heritage baking. When your grandmother’s handwritten recipe calls for cake yeast, you’re not locked in the past; you’re joining a lineage.
Master this yeast substitution: one 2-ounce cake yeast block equals three packets of dry yeast, each holding ¼ ounce or 2 ¼ teaspoons. That translates to 6 ¾ teaspoons total, your standard ratio for seamless substitution. Red Star guidance suggests slightly less than triple by weight for optimal results.
For practical precision, divide that cake yeast into eight equal pieces, roughly 0.67 ounces each, matching single dry yeast packets. You’re not merely converting ingredients; you’re translating the specific fermentation requirements across different yeast formats.
Measuring Dry Alternatives
Transitioning from fresh to dry yeast requires more than simple arithmetic; you’re recalibrating the living engine of your dough. When making this substitution, measure carefully: one 2-ounce block of cake yeast matches three 2¼-teaspoon dry yeast packets, totaling 6¾ teaspoons. You can divide that fresh block into thirds, each piece equaling one packet. This tactile, intuitive approach connects you to generations of bakers who worked without scales.
For your substitution, dissolve the dry yeast in lukewarm water around 90°F with a pinch of sugar, watching for that telltale foam. This living proof signals your yeast has awakened. Red Star suggests slightly less than triple by weight, but precision matters less than attentiveness. Adjust your measurements based on what you observe, and you’ll align your technique with bakers who prioritize craft over rigid formulas.
Adjusting Recipe Liquids
Why does the same dough sometimes emerge slack and sticky when you’ve followed every measurement with care? Cake yeast carries its own moisture, while dry yeast demands proofing in liquid. When converting, if your recipe calls for liquid proofing with dry yeast, reduce your total liquids by half a cup to preserve the dough’s intended texture. You’ll replace two ounces of cake yeast with three packets of dry yeast, each holding two and one-quarter teaspoons. For larger batches, divide that two-ounce block into eight portions, matching smaller dry-yeast additions with precision. Activate your dry yeast by dissolving it in lukewarm water with sugar, then crumble it into your dough exactly as you would with cake yeast. A two-ounce block is roughly the size of half a stick of butter, providing a reliable visual reference for accurate measurement.
Where to Find Fresh Cake Yeast in Stores
Curious where this elusive leavening treasure hides in your local market. You’ll find fresh cake yeast in the dairy section, that cool corridor where perishables dwell, typically packaged in modest two-ounce blocks. Availability proves fickle and seasonal, with shelves stocked primarily around holidays when baking traditions swell. Many stores stock this living ingredient only during festive peaks, leaving you to hunt through winter months when demand spikes. Unlike its dried cousins, cake yeast demands constant refrigeration. Its cellular vitality diminishes without chill; this biological reality limits distribution. Seek it where butter and cream congregate. When you spot those foil-wrapped blocks, you’ve located a resource shared among bakers.
How to Store Cake Yeast for Maximum Freshness
Once you’ve tracked down those foil-wrapped blocks in the dairy case, your next challenge becomes keeping this living ingredient alive. Cake yeast is not a pantry dweller like its dried counterparts but requires precise conditions to maintain its rising power.
Proper storage of fresh cake yeast means immediate refrigeration in airtight packaging. Wrap blocks tightly in plastic, then foil, nestling them in the coldest refrigerator zone, typically the rear, to slow metabolic decline. This practice extends shelf life to one to two weeks, a narrow window requiring calendar awareness. Because availability peaks seasonally, treat each block as a limited resource. Refrigerating cake yeast correctly ensures reliable performance in your baking.
How to Activate Cake Yeast (Two Methods)
You’ll want to master both the Rehydration Method and the Dry Blend Technique, since each brings distinct advantages to your baking. Rehydrating proofs your yeast’s viability before you commit precious ingredients, while the dry blend offers speed when you’re confident in your yeast’s freshness. When you choose rehydration, crumble that ivory block into sweetened water around 90°F to transform dormant microbes into frothy, living leaveners within minutes. Remember that you’ll need to subtract that ½ cup from your recipe to maintain the dough’s intended hydration. The dry blend technique asks you to scatter crumbled yeast like savory snow across your flour, where it’ll awaken gradually upon contact with recipe liquids. This method works best for the organized baker who has planned ahead and knows their refrigerator’s contents are fresh.
Rehydration Method Steps
Whether you’re kneading your first loaf or refining your technique, waking cake yeast from its dormant state is the foundation of bread making. Start by dissolving one teaspoon of granulated sugar in half a cup of warm water, about ninety degrees Fahrenheit. Crumble your fresh yeast into this sweet bath, stirring until it melts like snow. Within five to ten minutes, you’ll see vigorous foaming, which indicates successful activation. Rehydration provides visual confirmation of yeast viability before mixing your dough. Remember to subtract that half cup from your recipe’s total liquids, keeping your hydration balanced and your crumb perfect.
Dry Blend Technique
Beyond the bubbling spectacle of rehydration lies a quieter path to awakening your cake yeast through direct incorporation. You’ll master the dry blend method by crumbling fresh yeast over your flour and dry ingredients, keeping it apart from salt and sugar that could compromise activation. When you pour your warmed liquids at approximately 90°F, you initiate contact between moisture and leavening power. For substantial blocks, divide into eight two-ounce portions before crumbling, ensuring even distribution throughout your dough. This technique skips the foamy prelude while still achieving robust rise. Your hands become the instrument of transformation, with patience and intuition providing the same results as visual confirmation of viability.
Liquid Adjustment Tips
How do you guarantee your dough’s hydration remains precise when your yeast arrives swimming in half a cup of activation water? You master liquids adjustment, the baker’s secret to consistency. When you choose rehydration for your cake yeast, dissolving that crumbled treasure in sugared warmth, you’re adding liquid that must be accounted for. Simply reduce your recipe’s total liquids by that same half cup, and your dough’s chemistry stays balanced like a scale finding its center.
You have another path: the dry blend method, where you skip the soaking entirely and crumble yeast directly over flour before introducing warmed liquids separately. Both techniques demand attention to temperature, that 90°F sweet spot where yeast awakens without shock. Whether you prefer the foamy proof of rehydration or the streamlined simplicity of dry blending, precise liquid adjustment is fundamental to bread baking, with each choice affecting your final product’s texture and rise.
How to Tell If Your Cake Yeast Is Still Active
The vitality of your cake yeast is not a mystery you must leave to chance, but a living quality you can confirm with your own senses through a simple proofing test that transforms uncertainty into confident knowledge. Unlike active dry yeast, which requires warmer rehydration, your cake yeast activates gently in lukewarm water with a pinch of sugar, beginning the foaming that signals life.
Watch closely: within five to ten minutes, vigorous bubbles should crown the surface, a foamy declaration that your yeast is actively fermenting and ready for flour. Pale, still water indicates the yeast is dead. Discard it, as using spent yeast will result in flat, dense bread.
| Stage | Visual Indicator | Meaning |
|---|---|---|
| 0 minutes | Creamy, dissolving mass | Rehydration begins |
| 3 minutes | Thin film forming | Activation commences |
| 8 minutes | Dense, creamy foam | vigorous proofing achieved |
| 12+ minutes | No change, gray water | Yeast deceased, batch failed |
This proofing test is the reliable method experienced bakers use to verify yeast viability before mixing dough.
When Cake Yeast Outperforms Dry Yeast
Once you’ve confirmed your cake yeast is alive and eager, you’ll discover the real reward: there are moments in baking where this perishable, old-fashioned leavening doesn’t just match its dry counterpart, it leaves it behind entirely. Picture transforming a mountainous brioche or deeply flavored babka, where the gentle hum of fermentation begins almost instantly, thanks to that fresh, moist vitality dry yeast simply cannot replicate. You’ll notice the difference in aroma first, that unmistakable yeasty perfume weaving through your kitchen as an indicator of what’s to come. When you commit to slow, cold rises or enriched doughs demanding patience, cake yeast deepens complexity rather than merely lifting it. Yes, shelf-life demands your attention and vigilance. This requirement reflects the actual craft involved: precise timing and understanding when fermentation peaks.
How Long Does Cake Yeast Last?
You should know that fresh cake yeast, unlike its dry counterpart, offers you only a narrow window of peak performance: roughly one to two weeks when you keep it sealed tight in your refrigerator. Your storage habits become critical for this living ingredient, as airtight containers and consistent temperatures protect the compressed, creamy blocks from air exposure and warmth that would otherwise diminish their leavening power before you can use them. While dry yeast remains viable in your pantry for months, cake yeast requires more careful handling and storage to maintain its potency.
Shelf Life Span
How long can you trust that living block of compressed yeast before it surrenders to time? Fresh cake yeast offers merely one to two weeks of shelf life under proper refrigeration. This compressed leavening agent, typically packaged in modest 2-ounce blocks, arrives as a living, breathing ingredient that refuses to linger in your pantry. Because bakers like you cherish its vigorous fermentation, you’ll notice it vanishes from shelves seasonally, retreating until holiday baking summons it back. When fresh cake yeast eludes your grasp, dry yeast substitutes stand ready; they are more patient and less demanding, though lacking that unmistakable vitality. Your pursuit of authentic flavor means embracing this ephemeral partnership and planning your bakes around its brief, brilliant existence.
Storage Requirements
Refrigeration is essential when safeguarding fresh cake yeast, a delicate living organism that requires proper care from the moment it enters your kitchen. Cake yeast is sold in two-ounce blocks and must be stored in airtight containers to preserve its viability, unlike dry yeast which can be kept in pantries for months. Your refrigerator extends the shelf life to one or two weeks. Ambient warmth degrades this living culture quickly, so countertop storage is not suitable. Proper refrigeration ensures the yeast remains viable for baking, producing the light, risen results that careful bakers expect.
Why Your Cake Yeast Won’t Foam (and Fixes)
Standing at the counter with a crumbled block of cake yeast dissolving in your bowl, you might wonder where the frothy, fragrant bloom has gone, the promise of fermentation that transforms humble flour into risen bread.
Cake yeast demands proper activation. Temperature reigns supreme. When you pour liquid hotter than 110–115°F over those creamy granules, you kill the yeast, leaving you with inert sludge rather than living foam. Use a thermometer, or test warmth against your wrist like generations before you.
Don’t let salt or sugar touch dry yeast directly; they draw moisture and inhibit the very life you’re coaxing forward. Crumble the yeast into lukewarm liquid, add a pinch of sugar, then wait as bubbles announce successful activation.
Using Dry Yeast in Recipes That Call for Fresh
Wherever your baking journey takes you, you’ll eventually face the practical challenge of substituting dry yeast when a recipe calls for fresh cake yeast, that perishable block your grandmother might have pressed between waxed paper sheets. This conversion is straightforward once you master the technique.
Every baker eventually faces converting fresh cake yeast to dry yeast—that perishable block pressed between waxed paper sheets.
Your dry yeast substitution rests on simple math: two ounces of cake yeast equal three packets of dry yeast, each containing two and one-quarter teaspoons. Consider this your roadmap:
- Crumble active dry yeast into flour, or proof it in lukewarm water with sugar until foamy
- Divide two ounces of cake yeast into eight portions, matching eight dry-yeast packets
- Reduce total liquids by half a cup when using proofed liquid yeast
- Choose instant yeast for direct mixing into dry ingredients, skipping activation
- Remember that active dry yeast demands blooming, while instant yeast dissolves seamlessly
Your grandmother’s recipes will perform reliably when you apply these precise conversions.