Let your cake rest in its pan for ten minutes, then flip it onto a wire rack where air circulates freely. If time is limited, the fridge becomes your ally after that initial rest, though you’ll monitor the timing carefully to avoid unwanted flavors.
For domed cakes like angel food, suspend them upside-down to let gravity create a flat surface.
Test for coolness after two to three hours by touching the center to confirm it has cooled completely before applying buttercream.
These five steps will transform good cakes into great ones.
Cool Your Cake in the Pan First (10 Minutes)
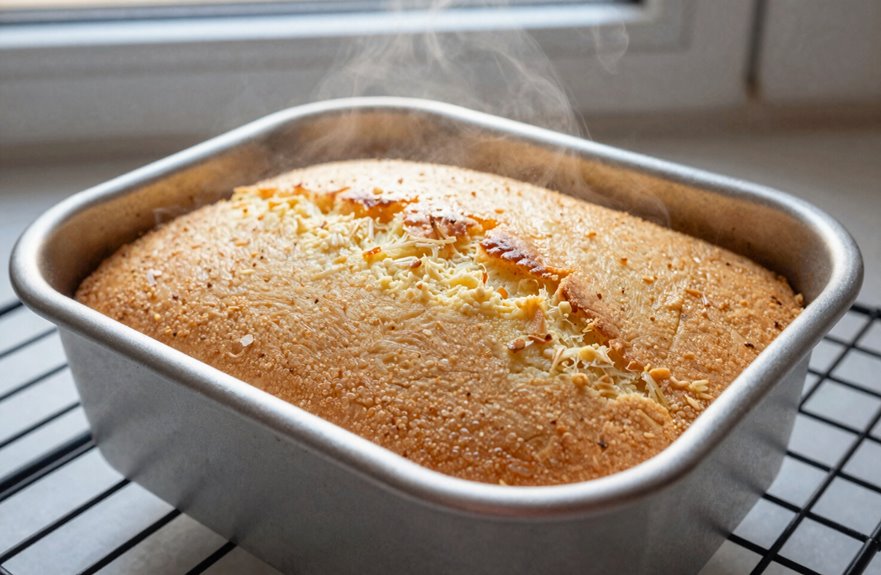
Once you’ve pulled your golden, fragrant creation from the oven, resist the urge to immediately free it from its metal confines. Instead, grant your cake a brief but essential ten-minute respite right where it sits. This pan rest provides structural stability, allowing your cake’s delicate crumb to firm up like mortar setting between stones. You’re building a foundation, not rushing a finale.
During this cooling phase, keep the pan uncovered. Trapped steam invites sogginess, which compromises texture. Let moisture escape freely, preserving the tender crumb you’ve worked to achieve. This pause reduces cracking risks and transforms your later icing from a frustrating battle into smooth collaboration. After these ten minutes, you’ll transfer your cake to a wire rack. This waiting period distinguishes eager beginners from practiced bakers who understand that restraint is a fundamental technique.
Cool on a Wire Rack for Standard Results
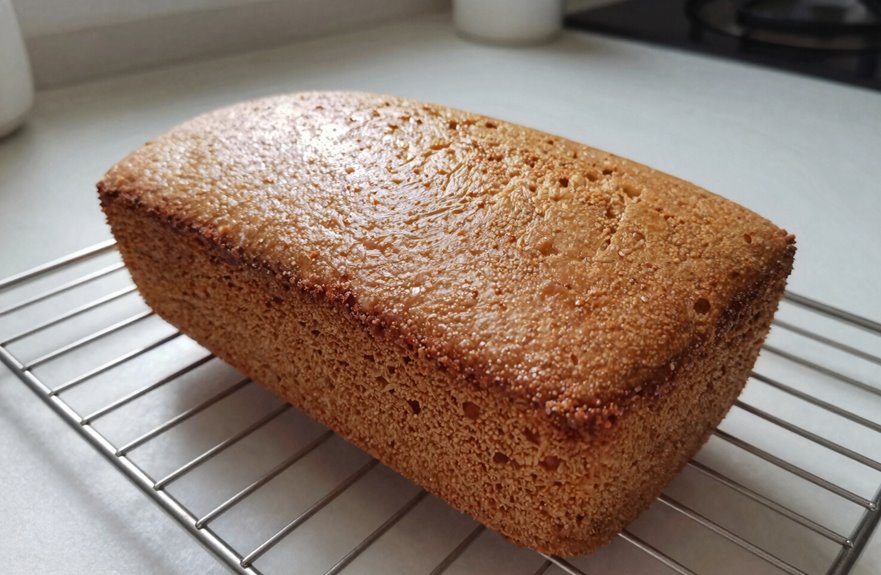
Your ten-minute wait has passed, and the moment of liberation has arrived. Flip your pan, release your cake onto the waiting wire rack, and watch as air begins its silent work from every angle. Position your creation centrally, where metallic crossbars cradle it, permitting convection currents to wrap around every curve and crevice.
The moment of liberation has arrived: release your cake onto the waiting wire rack, and watch as air begins its silent work.
To master this fundamental technique, embrace these essentials:
- Center your cake precisely, maintaining even airflow beneath and above its golden crown.
- Guard against aromatic intruders by keeping your wire rack distant from pungent cheeses or aggressive spices that would colonize your sponge.
- Consider strategic slicing. Halving your cake transforms surface area, accelerating the cooldown without compromising structural integrity.
You’ve chosen the path of patience, that ancient covenant between craftsperson and creation. Your cake will reward you with superior texture through proper cooling.
Cut Cooling Time With the Fridge
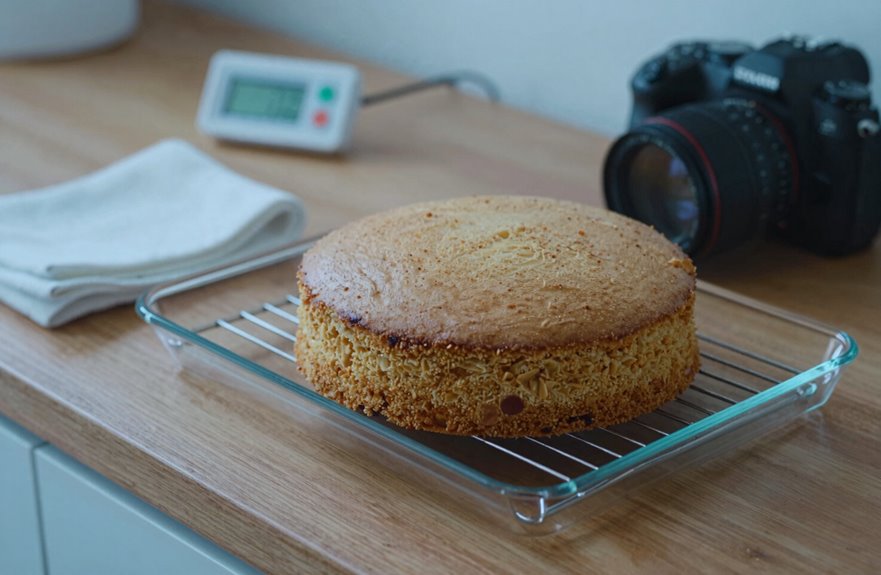
Time presses against your kitchen clock like a rising oven, and that wire rack patience you’ve just exercised, admirable as it is, must sometimes yield to the demanding rhythm of real life. When cooling demands acceleration, your fridge becomes an ally, not a shortcut to ruin.
| Stage | Action | Caution |
|---|---|---|
| Initial cooling | Rest at room temperature | Prevents condensation |
| Fridge placement | 15-30 minutes maximum | Unwrapped risks odor absorption |
| Surface readiness | Check for slight firmness | Avoid over-chilling |
| Final prep | Proceed with icing | Don’t store long-term here |
You must ensure your cake reaches room temperature before fridge contact, lest moisture betray your crumb. Wrap it well, or those onion remnants from Tuesday’s dinner will affect your vanilla sponge. Use this method for urgency, not habit. Refrigeration dries what patience preserves, and your craft deserves better than a desiccated dessert.
Flip Domed Cakes for Even Flatness
Why settle for a rounded crown when your cake could have the smooth, level surface of professional perfection. You’ve already mastered cutting cooling time, and now you can join the ranks of bakers who transform domed cakes into architectural marvels through strategic inversion.
To achieve a dome-free cake:
- Invert your angel food cake immediately after baking, suspending the tube pan over a bottle to let gravity create a flat top as it cools.
- Resist the urge to release early. Disturbing the delicate crumb during initial cooling invites collapse, similar to waking a sleepwalker mid-dream.
- Handle tube pans with surgical precision once cooling completes, coaxing the cake free rather than forcing it to preserve the structural integrity you’ve carefully built.
Test If Your Cake Is Ready to Ice
How can you know with certainty that your cake has cooled completely and stands ready for frosting? You’ve waited your two to three hours, and now your fingertips press the surface to test temperature, just as you would check a child’s forehead. Cool, yielding, and no warmth remaining. This is your icing readiness moment.
You’ll know the cake has reached room temperature throughout when it feels cool all the way to the center, not merely cool on the outside while remaining warm inside. Frosting a warm cake causes buttercream to melt and run. Instead, use a crumb coat as your protection; that thin layer of frosting, chilled for thirty minutes, seals every crumb before your final layer. This approach ensures a professional finish.