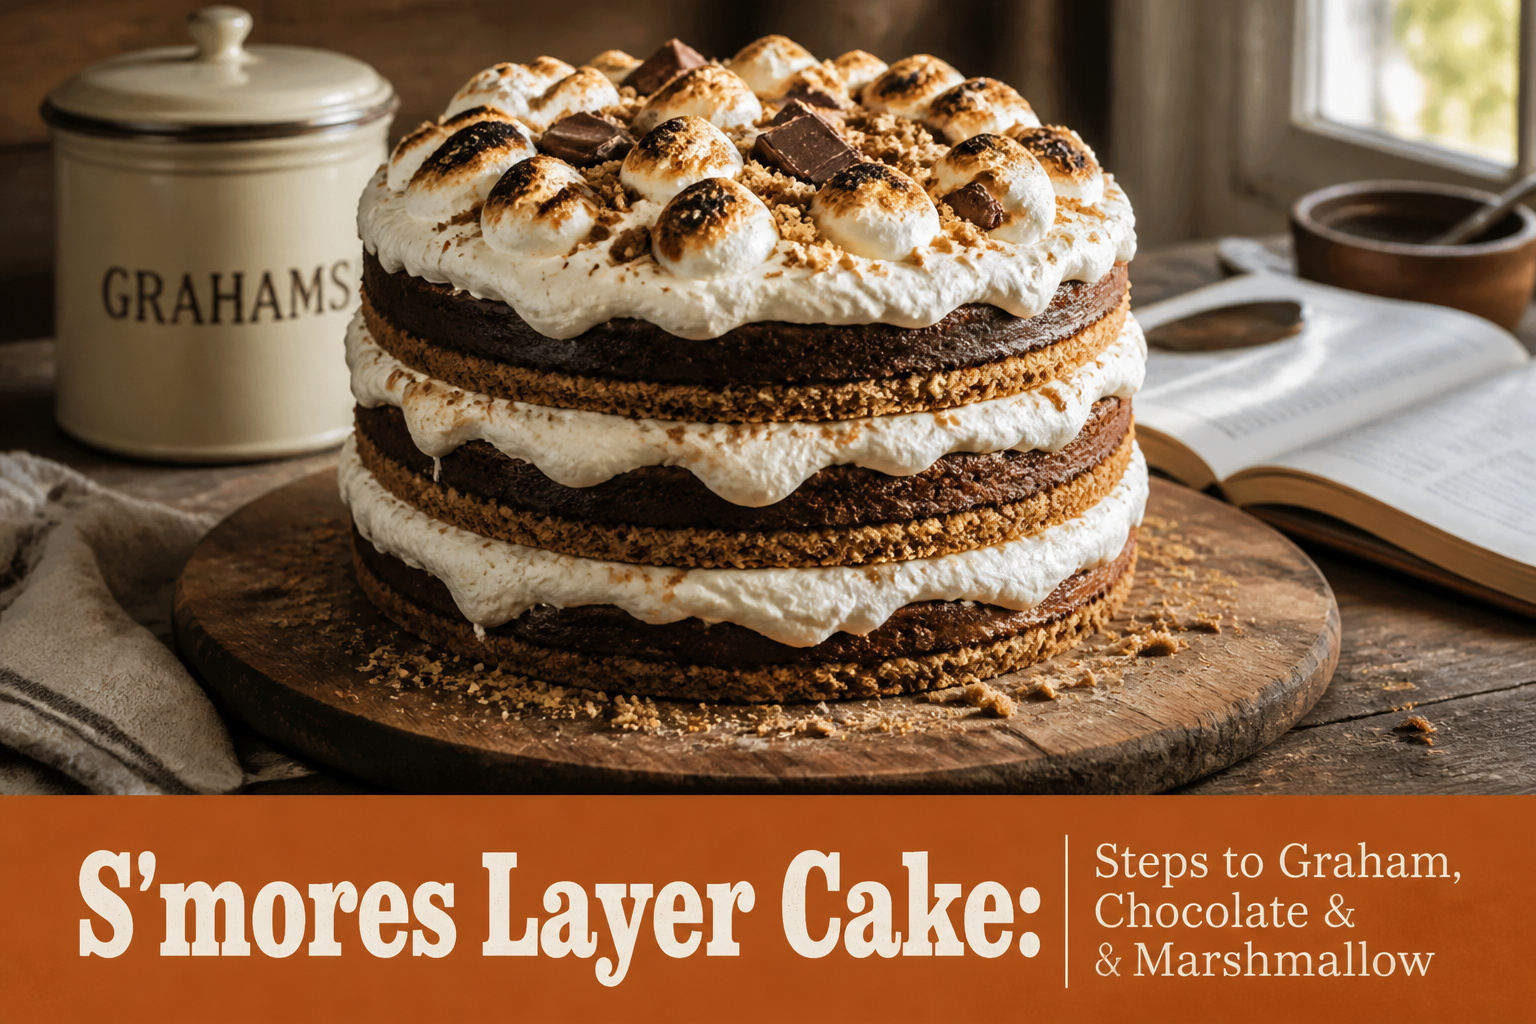
This s’mores layer cake tastes like a campfire translated into something you slice: toasted graham, milk chocolate, and marshmallow fluff buttercream stacked three layers tall.
The difference here is a baked graham cracker crust at the base of each layer, not just crumbs on top, which keeps the foundation crisp instead of soggy. Plan on about two hours of active work, plus cooling time.
The catch is the assembly: without a buttercream dam around each layer’s edge, the soft marshmallow filling bulges and the layers slide. One source learned that the hard way so you do not have to.
Graham Cracker Crust
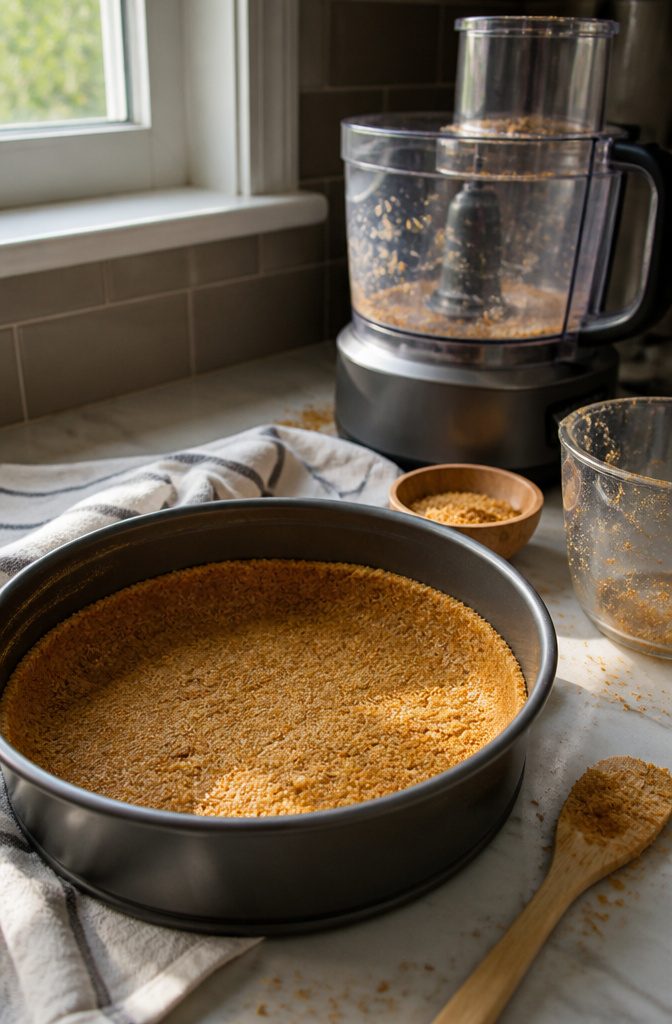
The graham cracker layer is what separates a s’mores cake from a chocolate cake with marshmallow frosting. One source calls it the only extra work in the whole build, which feels fair once you know the moves.
Crush the crackers fine, by food processor or by rolling pin inside a zip-top bag. Most recipes land on about one sleeve, nine full sheets, though nobody specifies the exact weight or volume of crumbs that produces.
Two sources give 140g for that sleeve, which is the closest thing to a solid number. Mix the crumbs with sugar and melted butter until no dry patches remain, then press the mixture firmly into the bottom of each pan.
A measuring cup or the back of a spoon works; the goal is compact and flat, not creeping up the sides.
From here, the sources split. One path bakes the crust at 350°F for 10 minutes to set it, then cools before adding batter.
The other chills the pans in the freezer for 20 minutes until the layer firms almost to frozen. Baking wins for me: it toasts the graham flavor and keeps the crust from turning soggy under wet cake batter.
The freezer route saves time only if you trust your pans to release a soft crumb later, and I do not.

One 14.4 ounce box of Amazon Saver Graham Crackers

Contains one 750g bag of ready‑to‑use Biscoff biscuit crumbs, ideal for baking, toppings and dessert preparation. Convenient format for quick, easy recipes at home or in the kitchen.
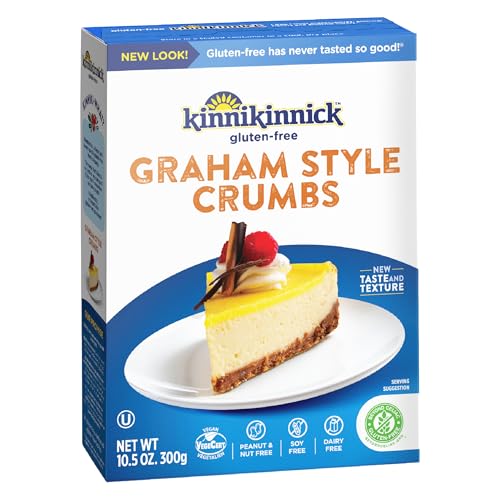
GLUTEN FREE GRAHAM STYLE CRUMBS: So good, you won't even know these graham crumbs are not only gluten-free but free from top allergens and vegan too! Keep a box in your pantry for all recipes that call for a graham cracker crust or toppings. Contains one 10.5 ounce box of Gluten Free Graham Style Crumbs
Chocolate Cake Batter
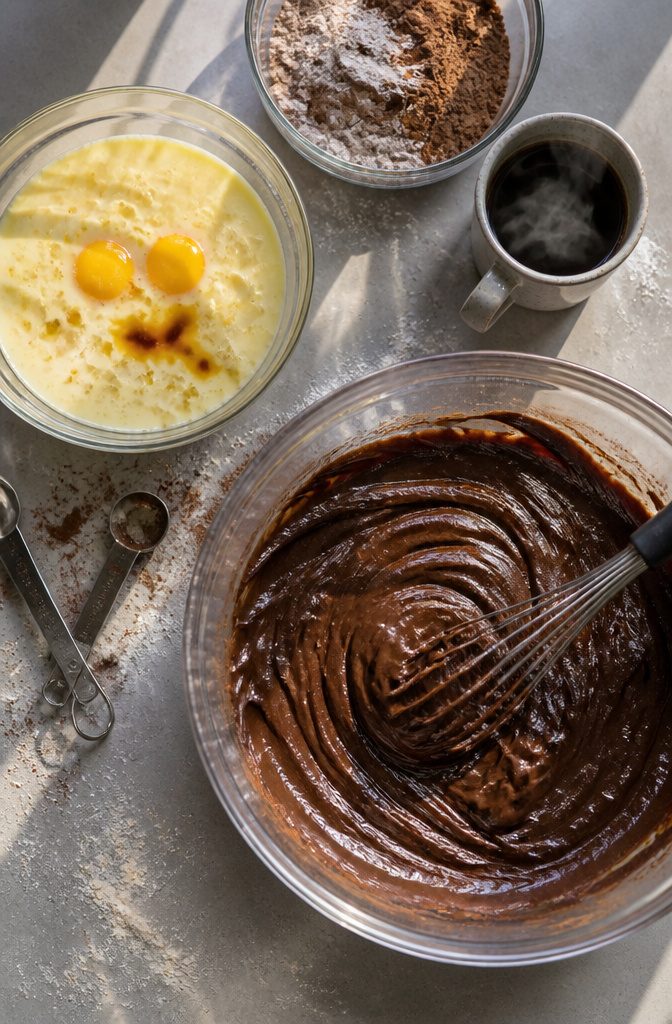
Dry ingredients settle fast, so I whisk the flour, cocoa powder, baking soda, baking powder, and salt together in one bowl until the streaks disappear.
In a second, larger bowl, the wet team comes together: four large eggs, buttermilk, vegetable oil, and vanilla. The eggs go in first, broken up with a whisk, then the rest pour in and combine without much fuss.
Pour the dry into the wet and mix until you no longer see flour.
The batter will look thick and almost finished at this point. Hot coffee, or hot water warmed to coffee-drinking temperature, thins it out into something surprisingly runny.
This is where the chocolate flavor deepens; the heat wakes up the cocoa without boiling the eggs, which is why you stop short of a full rolling boil. A minute in a glass measuring cup in the microwave does it.
Set the oven to 350°F and divide the batter between your prepared pans. The thin pour makes it easy to level.
From here, the layers bake until a toothpick shows moist crumbs but no wet batter, which in my experience lands somewhere in that 13–16 minute window for 8-inch rounds, though a 6-inch pan runs closer to 25–30.
Start checking early; chocolate cake turns from perfect to overdone faster than vanilla.

S'more Marshmallows with a Square Shape, Sweet & Fluffy, Fat-Free, Perfect for S'mores, Treats & Hot Chocolate

Sugar Free Marshmallow Spread & Creme: A light, airy, spoonable marshmallow spread with classic vanilla sweetness and fluffy marshmallow creme texture.

The information below is per-pack only
Bake the Cake Layers
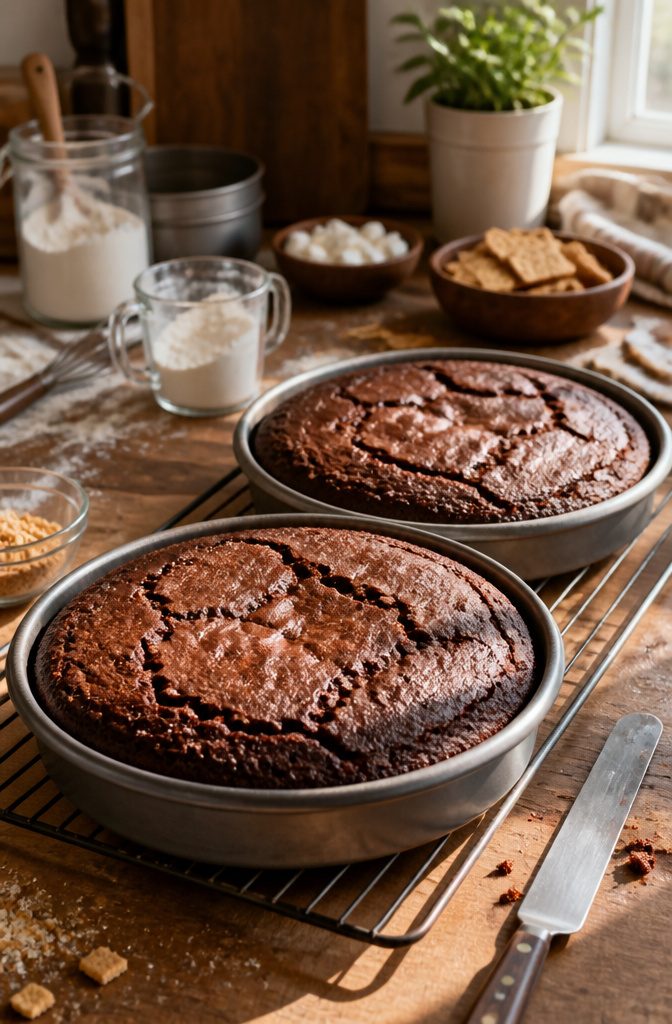
Divide the batter evenly between your prepared pans and tap them on the counter a few times to knock out any large air bubbles.
Slide them into a 350°F oven and bake until the centers puff and a toothpick inserted comes out clean.
That usually takes 30 to 40 minutes, though it pays to start checking at the 30-minute mark; oven thermostats run hot or cold, and underbaked layers will sink in the middle later.
Let the pans sit on a wire rack for about 20 minutes. The cakes need that window to firm up; turn them out too soon and they risk cracking apart.
Run a thin knife around the edges, flip them onto the rack, peel off the parchment, and let them cool completely before you even think about frosting.
Warm cake will melt the marshmallow buttercream into a slick mess, and all that careful work goes to waste.

PROFESSIONAL SILICONE PASTRY BAGS: Compared with others,ELK's piping bags uses the 60HA elastic silicone, which is the perfect material for the piping tips set. The slight elasticity ensures its reusability, allowing the viscous liquids to flow smoothly inside. It won’t blow out even if you knead the thick batter with it. Its high stretchiness means that all of the squeezing efforts you make gets transferred to bulging sides as it stretches out, instead of forcing the frosting out the bottom.

Affordable Piping Bags Combo: Package include 100 x disposable pastry bags, 1 x silicone pastry bags, 12 x stainless steel decorating tips, 3 x plastic scrapers, 1 x frosting couplers, 2 x piping bag ties. No matter your pro or novice, this affordable pack could meet your need.
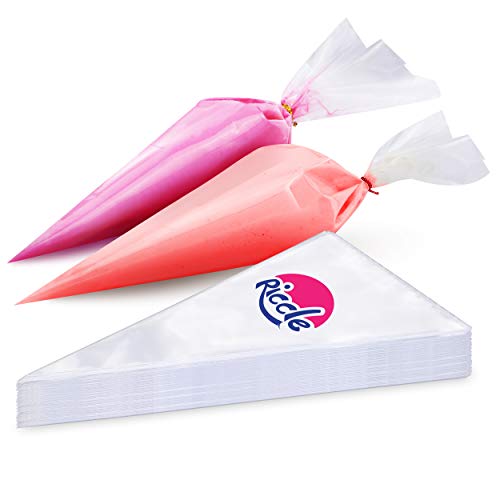
Thick Pastry Bags: Did your previous bags leaked? Are you afraid to squeeze them? Not now! Made of durable, anti-burst, non-slip and food grade plastic that is flexible, strong, reliable and thick enough to bear pressure of squeezing and frosting without any burst or leakage
Marshmallow Frosting
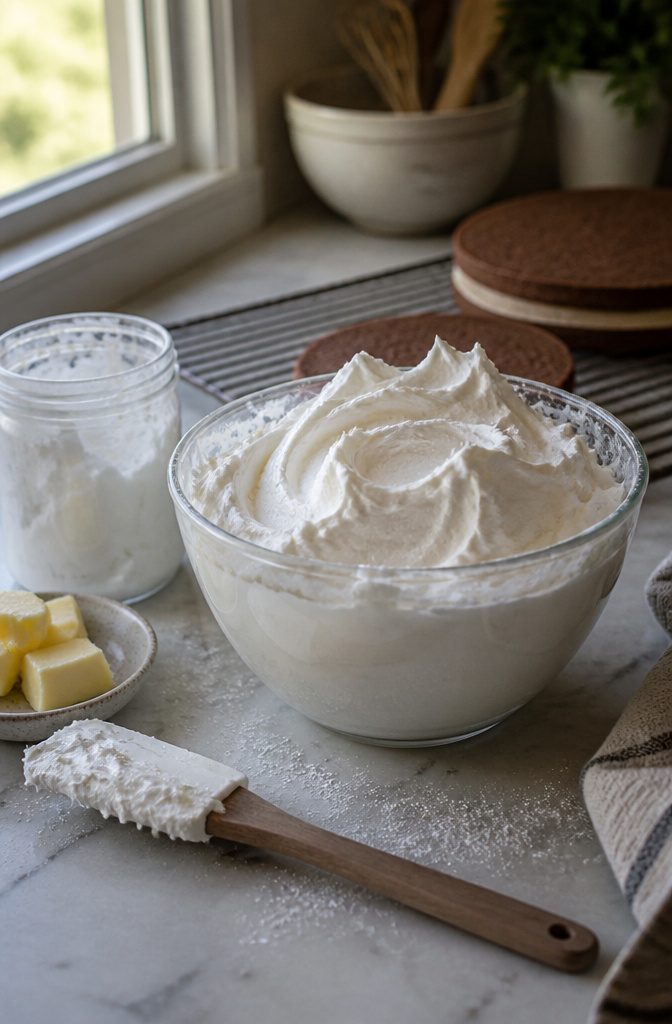
Marshmallow frosting for this cake comes together like a loose buttercream with one shortcut: 1 cup (2 sticks) of unsalted butter, 10 ounces of marshmallow fluff, and 4 cups confectioners’ sugar whipped until fluffy.
The marshmallow fluff does most of the flavor work, so you are not starting from syrup and egg whites.
I have seen recipes that call for toasting marshmallows under the broiler first, then folding those in at the end. The browned bits add something, though they also add a step and a sheet pan to wash.
Some bakers ask whether a homemade marshmallow meringue or regular vanilla buttercream would do instead. Marshmallow meringue is gorgeous and tall, but it is wetter and sets softer, so your layers slide if the day is warm.
Standard buttercream lacks that stretchy, campfire flavor that makes the cake read as s’mores rather than chocolate and graham. The fluff-based version hits the middle: stable enough to hold layers, flavored enough to matter, and available at any grocery store.

Decadent Chocolate: Indulge in our rich, moist gluten-free chocolate cake mix that's perfect for birthdays and special occasions. This mix creates an intensely chocolatey dessert that everyone will love, whether they're gluten-free or not.

RICH AND FUDGY: It's easy to create this indulgent chocolate fudge dessert with decadent chocolate flavor and moist texture using America's #1 cake mix brand (based on 52 weeks of Nielsen sales data for dry cake mixes ending 1/10/26)

Rich Chocolate Fudge Flavor: There's pudding in the mix, giving this cake a rich, decadent flavor and texture in every supremely chocolatey bite
Assemble the Cake
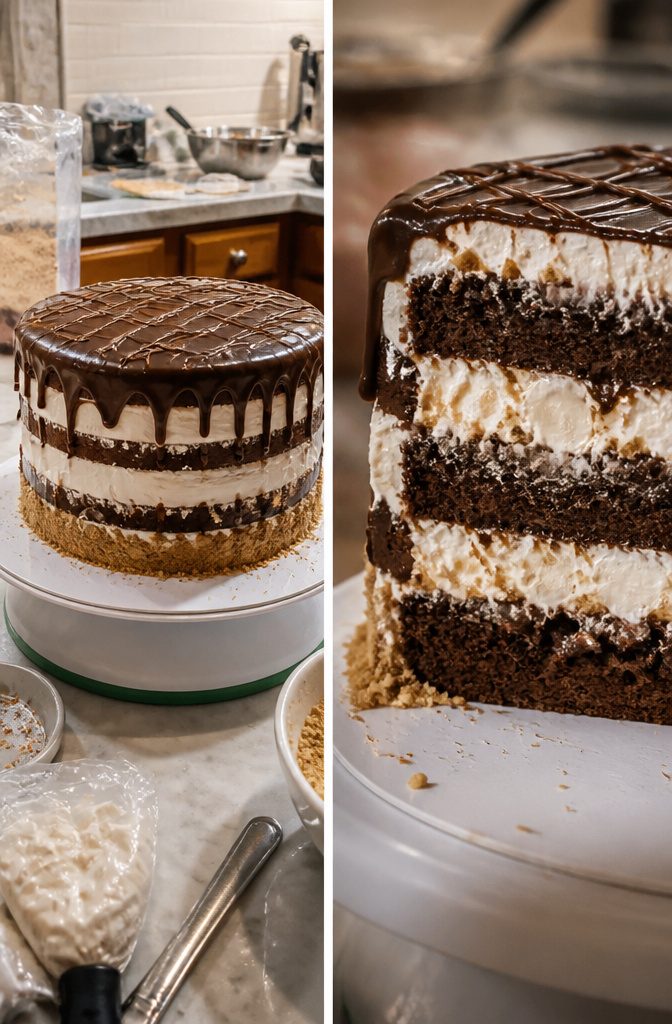
Three layers of chocolate cake need something between them besides air. I build each filling layer the same way: a thin coat of ganache goes down first, then marshmallow frosting, then a scatter of graham cracker crumbs.
The marshmallow frosting is soft enough that a dam of plain vanilla buttercream around the edge keeps it from bulging out the sides. Without that dam, your layers slide and the frosting squeezes out like a failed ice cream sandwich.
For the outside, I use the remaining marshmallow frosting rather than starting fresh with another batch.
The crumbs pressed around the bottom edge, what some call a graham cracker skirt, hide any uneven spots where the spatula didn’t sit perfectly flat.
The top stays cleaner: a last drizzle of ganache, then the toasted marshmallows go on at the very end so they don’t sink in or slide.

HEALTHY: E-far round cake pans are made of pure stainless steel without toxic materials, No harmful chemicals leaching into food, Unlike aluminum and Teflon coating pans, Healthy for your daily baking use

【Complete Cake Baking Set】 Includes 3 round stainless steel cake pans (4 inch, 6 inch, 8 inch), 150 pre-cut parchment paper liners, 1 silicone brush, and 1 silicone spatula. Ideal for baking layered cakes, cheesecakes, smash cakes, birthday cakes, and homemade desserts
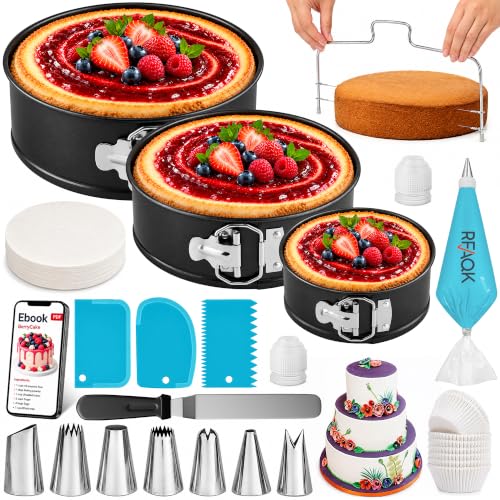
✅ Everything You Need to Bake Cheesecakes & Layer/Tier Cakes: RFAQK brings everything you need for baking and decorating your favorite types of cakes. Here’s what this package includes: ✔ 9-inch cake pan ✔ 7-inch cake pan ✔ 4-inch mini cake Pan ✔ 30 Pcs Parchment Paper Liners ✔ 1 Cake Leveler ✔ 7 Icing Tips ✔ 2 Piping Bag Couplers ✔ 1 Icing Spatula ✔ 3 Scrappers ✔ 15 Disposable Piping Bags ✔ 40 Disposable Cupcake Liners.
Decorate
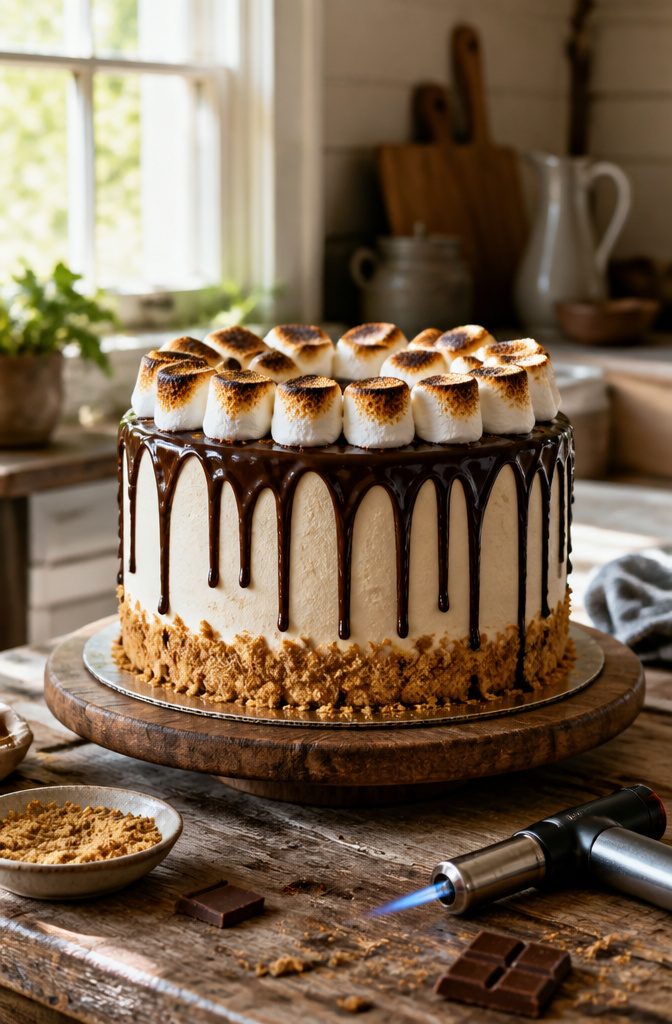
The ganache comes together with 7 ounces of chopped milk chocolate and 3/4 cup heavy cream.
Heat the cream until it simmers, pour it over the chocolate, and let it sit for a minute or two before stirring smooth. I like to let it cool slightly so it drips instead of running straight off the cake.
For the marshmallows, a kitchen torch gives the cleanest control.
Hold it a few inches away and sweep slowly until the tops turn golden with a few darker spots. A broiler works too, though it softens the ganache underneath while it toasts.
The oven at its highest setting is another route if you already have it hot. I keep the cake on a turntable and torch in sections, turning as I go so no single spot chars too deep.
Press the toasted marshmallows around the top edge in a loose ring, letting some ganache show between them. A skirt of graham cracker crumbs around the base ties the whole thing back to the first layer you baked.

Add a touch of crushed grapham cracker pieces to your desserts with these perfectly sized, flavorful bits.

One 14.4-ounce box of Honey Graham Crackers

One 14.4 oz box of HONEY MAID Honey Graham Crackers (packaging may vary)
Ingredients
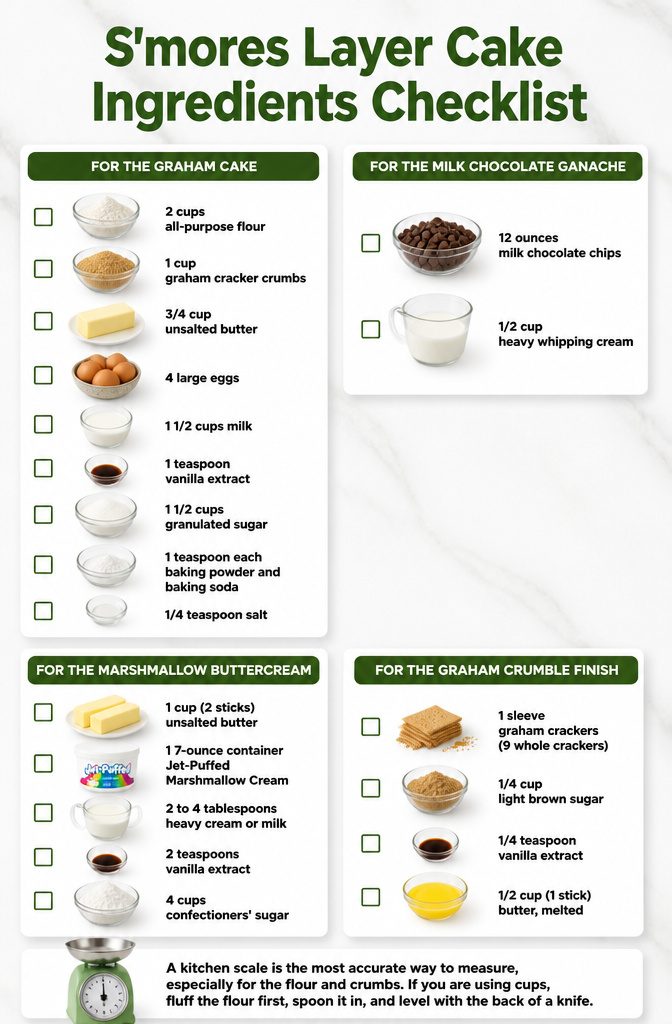
This cake asks for three separate builds, and the ingredient list reflects it. Here is what you will actually need on the counter before you start.
For the graham cake
- 2 cups all-purpose flour
- 1 cup graham cracker crumbs, crushed to sand texture
- 1 teaspoon each baking powder and baking soda
- 1/4 teaspoon salt
- 3/4 cup unsalted butter, room temperature
- 1 1/2 cups granulated sugar
- 4 large eggs, room temperature
- 1 teaspoon vanilla extract
- 1 1/2 cups milk, or buttermilk, kefir, or soured milk if that is what you have; I have tested this with 1% milk and it works, though store-bought buttermilk gives the softest crumb
For the milk chocolate ganache
- 12 ounces milk chocolate chips; Ghirardelli is what I reach for
- 1/2 cup heavy whipping cream
For the marshmallow buttercream
- 1 cup (2 sticks) unsalted butter, room temperature
- 1 7-ounce container Jet-Puffed Marshmallow Cream
- 2 to 4 tablespoons heavy cream or milk
- 2 teaspoons vanilla extract
- 4 cups confectioners’ sugar
For the graham crumble finish
- 1 sleeve graham crackers (9 whole crackers), crushed
- 1/4 cup packed light brown sugar
- 1/4 teaspoon vanilla extract
- 1/2 cup (1 stick) butter, melted
A kitchen scale is the most accurate way to measure, especially for the flour and crumbs. If you are using cups, fluff the flour first, spoon it in, and level with the back of a knife.

FLUFFERNUTTER SANDWICH - Fluff is the reason the Fluffernutter exists! Without the quality Fluff and some inegnuity, the classic lunchtime meal would never exist. If you've never tried one, now is the time to see what it's all about


VEGAN GLUTEN FREE MARSHMALLOWS - Fluffy as a cloud, sweet as your childhood memories. GoodMallow vanilla marshmallows with vegan ingredients give you all of the soft puffy texture AND sweetness you crave, made without gelatin or dairy. Your taste buds won't know the difference.
Preparation Tips
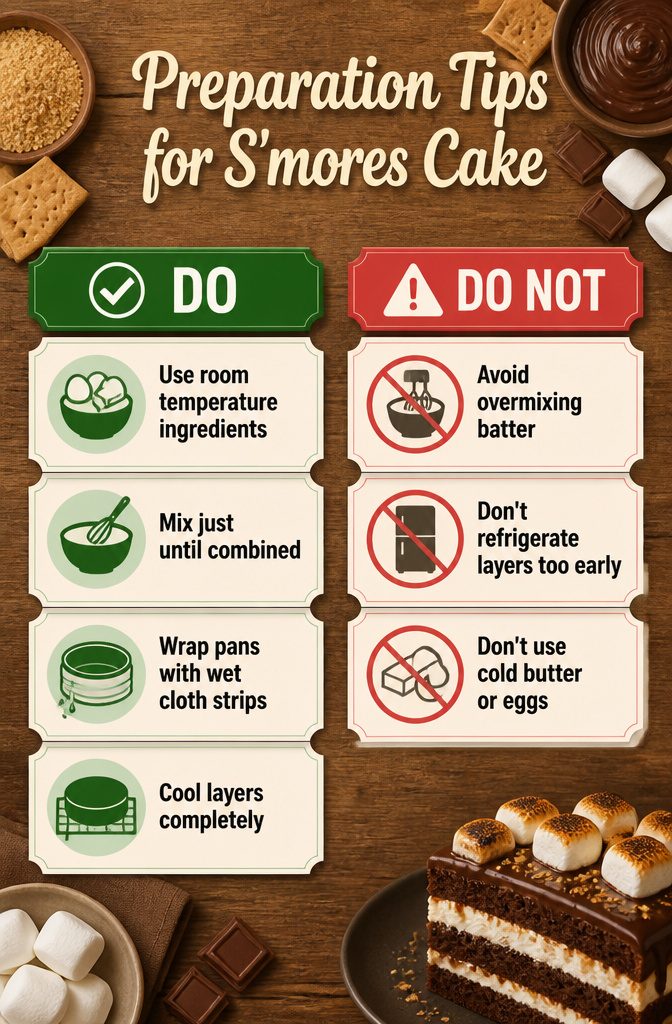
Cake layers for a s’mores build need to be flat and sturdy enough to carry the weight of ganache and marshmallow frosting without sliding into a lean.
Room-temperature ingredients are the first real defense: cold butter and eggs straight from the fridge will fight the batter into a dense, uneven crumb.
I let everything sit out while I crush graham crackers and set up pans, usually about forty-five minutes.
Overmixing is the second place this cake goes wrong. Once the dry ingredients hit the wet, I stop the mixer the second the streaks disappear and finish any stray flour with a spatula.
The batter should look a little lumpy; smooth means you’ve developed too much gluten and the layers will dome or crack.
For layers that bake up level without a domed center, wet cloth strips wrapped tight around the outside of the pans work as well as the commercial bake-even strips.
The moisture slows the edge from setting too fast, so the whole layer rises together.
The layers can be made a day or two ahead. I cool them completely, wrap each in plastic, and leave them at room temperature if I’m assembling within twenty-four hours.
For two days out, they go into the refrigerator, though I pull them back to room temperature before frosting so the ganache doesn’t seize on contact with a cold surface.

Food Grade Quality Material: Made of food-grade stainless steel, it's extra strong, and reliable, so you get a pastry decorating set that will not only serve you for years

Essential Cake Decorating Kit: 16 numbered stainless steel piping tips, 100 disposable pastry bags, 1 reusable piping bag, 2 reusable couplers, 2 bag ties, and 3 cake scrapers. With just a few key decorating tools, you'll be able to make cake decorating a piece of cake.

【Extra Large Piping Tip】 Made of durable stainless steel, sized at 1.75*1.73*2.19 inches, perfect for creating 3D roses, tulips, and other floral designs to easily elevate your cake decorations
Storage
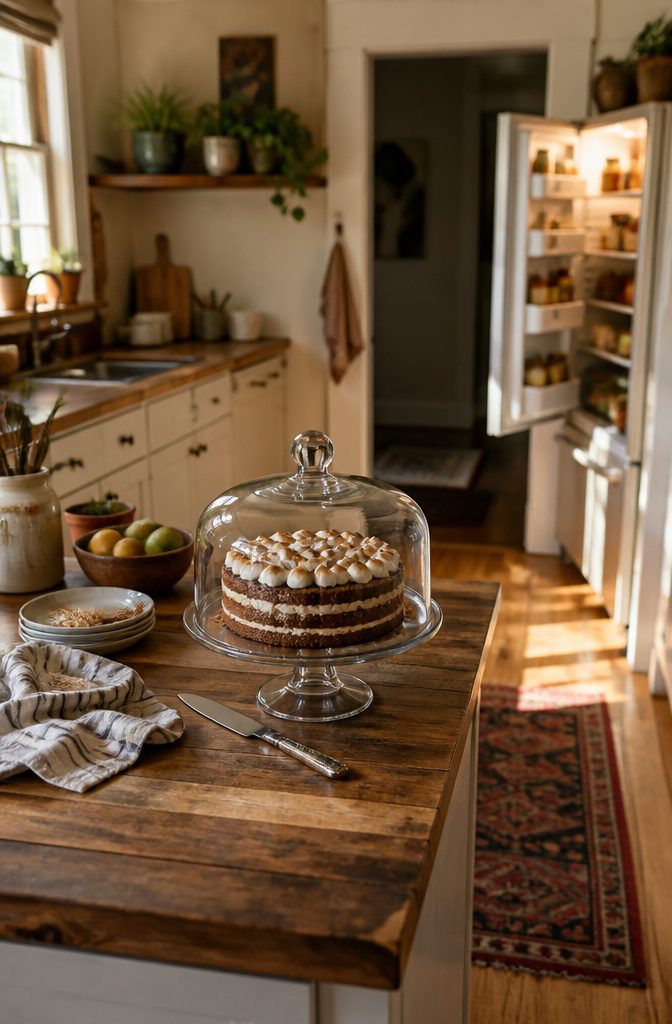
A finished s’mores layer cake sits fine under a cake dome or carrier at room temperature for a day, maybe two if the kitchen stays cool.
The marshmallow buttercream softens quickly in warmth, so keep it out of direct sun and away from the stove.
For longer storage, move the cake to the refrigerator.
It holds there for three to four days, though the texture tightens up cold. Pull it out half an hour before slicing so the crumb and frosting loosen back to something pleasant.
Cut slices should go into an airtight container with plastic wrap pressed against the exposed cake face. The graham cracker crust in particular picks up refrigerator odors fast.
This cake was built for summer. The torched marshmallow top and graham layers pair naturally with vanilla ice cream, and the height of it reads birthday or backyard party without extra decoration.
Serve it on a warm evening when the frosting has had its half hour out of the fridge and the chocolate layers have softened just enough to yield clean on the knife.

Receive 1 box of Simple Mills Almond Flour Chocolate Cake Mix. Rich cocoa and coconut sugar come together to take your muffins, cupcakes, and cakes to the next level of baking goodness

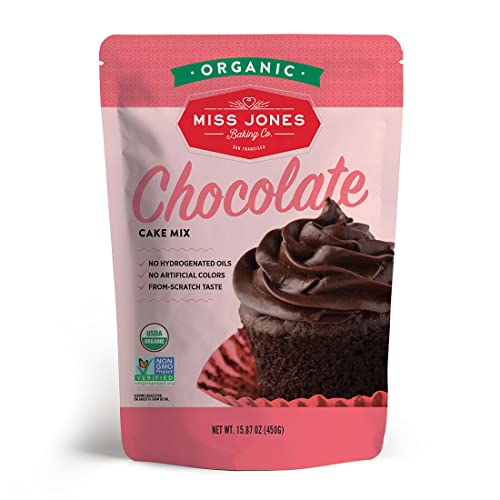
Contains: 1 Container of Organic Cake Mix
Frequently Asked Questions
Can I make a s’mores layer cake ahead of time?
Yes, you can bake the layers one to two days in advance. Cool them completely, wrap each layer in plastic, and store at room temperature if assembling within twenty-four hours.
For two days out, refrigerate the layers, but bring them back to room temperature before frosting so the ganache does not seize on contact.
What can I substitute for marshmallow fluff in s’mores layer cake frosting?
Homemade marshmallow meringue or regular vanilla buttercream can stand in, though neither matches the fluff-based version exactly.
Meringue is wetter and risks sliding layers on warm days; standard buttercream misses the stretchy, campfire flavor that makes the cake read as s’mores rather than chocolate and graham.
How do I toast marshmallows for a s’mores layer cake?
A kitchen torch gives the cleanest control; hold it a few inches away and sweep slowly until the tops turn golden with a few darker spots.
A broiler works too, though it softens the ganache underneath while it toasts. The oven at its highest setting is another option if you already have it hot.