
You’ll need roughly 90 minutes for a standard layer cake to reach true room temperature, though cupcakes demand only 30–45 minutes. That brief window between pulling your cake from the oven and lifting it onto a wire rack is critical. Those 10–15 minutes of resting in the pan determine whether your buttercream will glide on smoothly or slump into a greasy, crumb-studded mess. Residual heat continues radiating from the crumb even when the surface feels cool to the touch. This ongoing heat release compromises frosting integrity. Mastering these timelines helps you achieve consistently better frosting application with each bake.
How Long to Cool a Cake Before Frosting (Exact Timelines by Type)
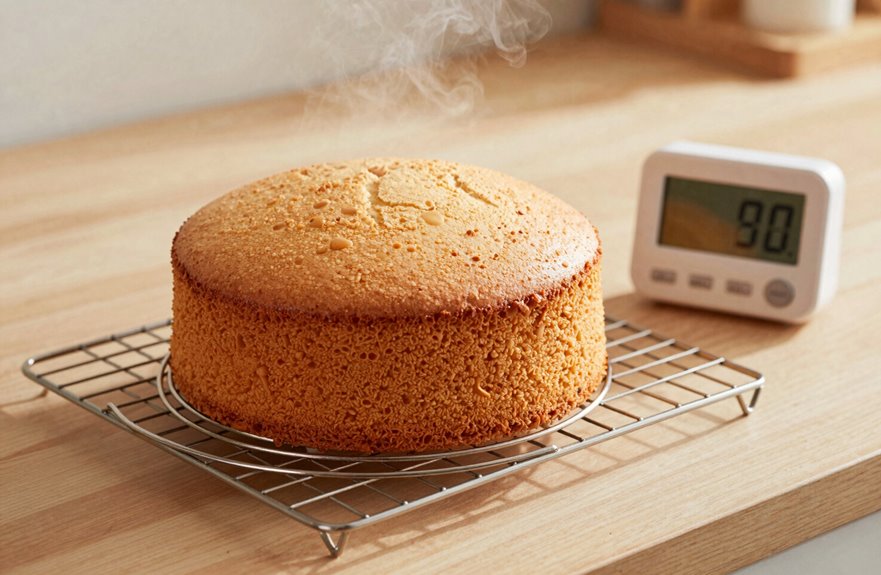
How do you know when your cake has cooled completely. You’re waiting to measure cooling time carefully, ensuring your cake is ready to accept frosting.
For cupcakes, you’ll wait thirty to forty-five minutes, though twenty to thirty minutes works when time is limited. Standard cakes demand at least ninety minutes, longer still when you want that pristine set and architectural stability beneath your spatula.
Let your layers rest in their pans for ten to fifteen minutes, then transfer them to a wire rack where air circulates freely. A completely cooled cake shows no warmth and no lingering heat beneath your fingertips. The fridge or freezer can speed up cooling when urgency calls, though rushing risks cracked crumbs and compromised frosting application.

HEALTHY: TeamFar round cooling rack is made of pure stainless steel, No toxic chemicals or coating into your food, Provide you a safer and healthier cooking experience

HEALTHY MATERIAL - E-far round cooling racks are made of pure stainless steel to ensure no harmful substance into food, Rust free and healthy racks to meet your daily kitchen use

HEAVY DUTY STAINLESS STEEL STURDY DESIGN: Set of 2 cooling racks for half sheet baking pans are food-safe, professional grade 304 (18/8) stainless steel with strong, heavy duty wire grids, small holes, smooth no-snag edges, and a full 1 inch height resulting in greater all around airflow for even cooking, cooling and roasting every time
How to Tell When Your Cake Is Fully Cooled
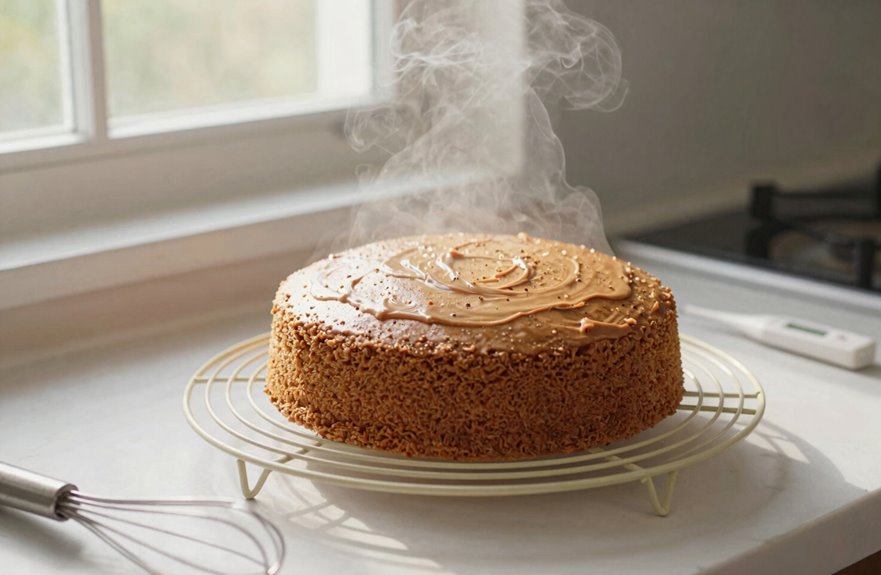
You’ll know your cake has reached the perfect state for frosting by using two techniques: the touch test method and visual cooling signs. Hover your hand just above the cake’s surface. If you detect even a whisper of warmth radiating upward, that heat will turn your buttercream into a sliding disaster. Wait until the cake cools completely.
Look also for a matte, crumb-free exterior without any damp sheen. That subtle gloss of trapped moisture prevents icing adhesion, similar to attempting to paint on wet canvas.

Two Professional Cake Decorating Spatulas: PUCKWAY offset spatula set comes in two different sizes: 6 inch and 8 inch blade. This is your best choice to decorate a cake perfectly.
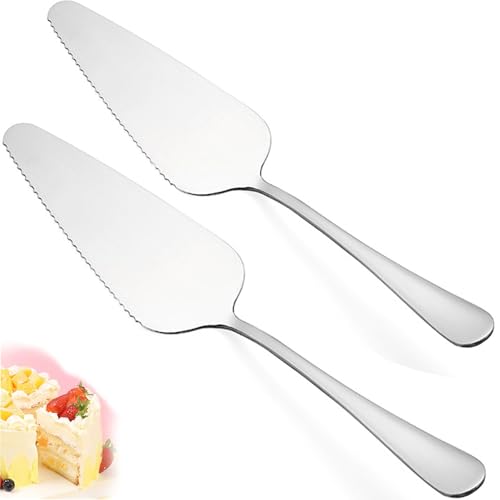
【Product Parameter】This cake server set includes 2 Pcs silver cake server spatulas, each piece is 8.9 inches length, 1.96 inches width and 1.59 oz weight, proper size and weight to make you hold and use comfortably, perfect for daily use or special events

Well Design: Thickened and widened handle, smooth and rounded edges, elegant and modern silver appearance, brings better experience. And the ergonomic handle makes it easier to cut your cake
Touch Test Method
Perhaps the most reliable way to know your cake has cooled completely is the touch test, a method that requires nothing more than your own hand and a moment of patience. You’ll press the back of your hand against the cake’s surface, seeking that perfect state where no residual heat lingers, only the yielding coolness of complete frosting readiness.
- Rest your cake on a wire rack for 10–15 minutes post-pan, then flip it to reach room temperature evenly
- Expect cupcakes to need 30–45 minutes, while layer cakes demand at least 90 minutes for true coolness
- Your skin detects hidden warmth more accurately than visual inspection
- Resist rushing, though a brief 30-minute fridge stint after crumb coating can steady your work
This technique ensures your buttercream won’t melt when applied to a warm cake surface.
Visual Cooling Signs
While your fingers might crave the immediacy of touch, your eyes can discern the quiet poetry of a cake surrendering its heat, reading subtle signals that announce readiness with the patience of a practiced observer. You watch for the matte crown, that dulled sheen where gloss once signaled moisture escaping, and you note how the edges pull ever so slightly from the pan’s embrace during those first ten to fifteen minutes of cooling. To cool a cake properly, you transfer it to a wire rack, where air circulates like breath beneath wings. You’ll know it’s completely cool when the surface stills, no longer exhaling wisps of warmth that blur your hovering hand. Rush not the crumb coat, for warmth betrays you, loosening tender crumbs into chaos. Patience yields the smooth canvas you seek.
Cooling Your Cake: A Step-by-Step Guide From Oven to Ready
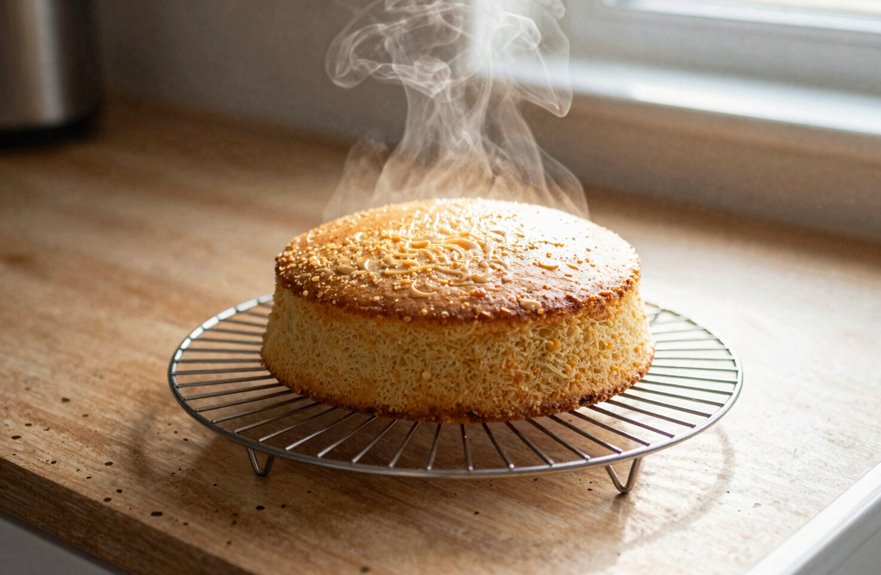
Before you even think about opening that oven door, you’ll want to prepare your workspace like a pastry chef staging their station. Gather your wire cooling rack and offset spatula so you’re ready to act the moment your timer sounds. Once you’ve performed the toothpick test and confirmed your cake’s doneness, you’ll remove it from the oven and let it rest in its pan. This essential pause allows the starches to set and the structure to stabilize, much like a runner catching their breath after a sprint. Only then will you release your creation onto the rack, where it transitions from a fragile, steaming confection to a firm, room-temperature canvas ready for decoration.

【2 Pieces Cake Scraper Set with 2 Styles】You will receive 2 styles of cake scrapers, each measures approximately 8.7x3x0.1 inches. You can carve cakes of various shapes and sizes according to different themes, easily meeting your needs for making beautiful and delicate cakes

🍰【Stainless Steel Cake Scraper Smoother】:This metal cake scraper is thick 304 food-safe stainless steel, serving as sturdy cake scraper smoother and alisador de pasteles. Odorless & rust-proof with non-stick polished surface for easy washing. ⚠️ Stainless steel edges are sharp, hold with care to prevent scratches; scrub all scrapers thoroughly before first use to wipe off laser polishing residues.

📏 PERFECT METAL DESIGN: With this durable stainless steel cake smoother, you can precisely level and smooth your cake batter to achieve a professional finish.
Pre-Oven Removal Steps
Why does the final act of baking demand as much patience as the mixing, measuring, and monitoring that preceded it. Rushing now unravels everything you’ve built, transforming your masterpiece into a crumbly casualty.
Your cooling journey begins before the oven door opens. Gather your wire rack, your gentle hands, and your resolve. You are orchestrating transformation.
- Position your wire rack on a heat-safe surface, creating airflow’s highway beneath your cake
- Test for doneness with a toothpick, ensuring your foundation stands solid before releasing heat’s hold
- Run a thin knife along the pan’s edges, loosening bonds without tearing tender crumb
- Prepare your workspace with patience as your primary ingredient, knowing room temperature awaits
When you hover your hand and feel no warmth, your cake has cooled completely and is ready for its final adornment.
Post-Removal Cooling Process
Once you lift that golden creation from its heated chamber, you’ve crossed the threshold from baking into the delicate art of preservation, where your cake’s final texture depends on balancing patience with the urge to proceed quickly. Let your cake rest on a wire rack for ten to fifteen minutes, allowing steam to escape from the crumb’s core. Then flip it onto the wire rack and let it cool completely to room temperature, which typically takes one to two hours. If time is limited, apply a thin crumb coat and refrigerate for thirty minutes, though rushing risks compromising the structural integrity you’ve built.
How to Cool a Cake Faster (When You’re Short on Time)
Finding yourself racing against the clock with a cake that’s still steaming and guests arriving within the hour requires strategic action. You have more control over this situation than you might initially believe. Accelerate cooling through techniques that transform thermal energy into manageable timelines without sacrificing your cake’s structural integrity.
- Remove your cake from the pan after just ten minutes and transfer it immediately to a wire cooling rack, maximizing air circulation around every surface
- Slice the cake into layers, doubling your cooling surface area like opening windows in a stuffy room
- Slide your partially cooled cake into the fridge or freezer for fifteen to twenty minutes, watching carefully to avoid drying
- Apply your crumb coat promptly, then return the cake briefly to the fridge or freezer. This chilling interlude creates a firm foundation for your frosting

**Essential Cake Decorating Supplies Kit: ** This baking kit includes all the essentials for creating stunning cakes—2 frosting spatulas, 3 scrapers, and an easy-to-use cake turntable. No need to purchase extra tools! Just grab your frosting, bake the cake, and let this all-in-one kit help you decorate like a pro.

【300 PCS All-in-1 Cake Decorating Kit】This cake decorating kit comes with all the accessories for baking:1 aluminum cake turntable,15 large numbered nozzle tips,30 numbered stainless steel icing tips,3 decorating combs,1 icing smoother,1 pastry bag,2 flower nails,1 flower lifter scissors,3 couplers,10 icing bag ties,15 paint brushes,6 cookie cutter,1 decorating pen with 3 tips,4 icing spatulas,1 cake leveler,5 spoons,100 disposable muffin cups,100 disposable piping bags,1 nozzle brush,1 brush
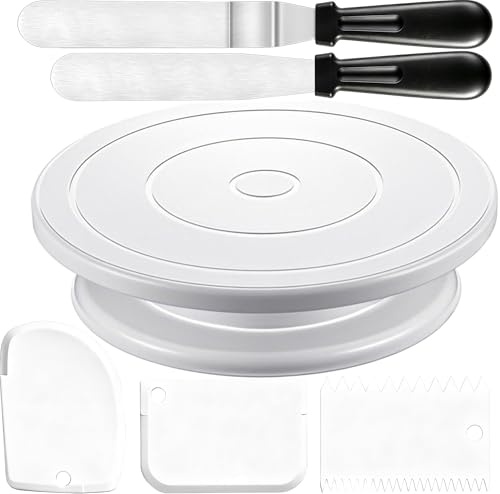
**Essential Cake Decorating Supplies Kit: ** This baking kit includes all the essentials for creating stunning cakes—2 frosting spatulas, 3 scrapers, and an easy-to-use cake turntable. No need to purchase extra tools! Just grab your frosting, bake the cake, and let this all-in-one kit help you decorate like a pro.
Should You Refrigerate a Cake Before Frosting?
Those shortcuts you’ve mastered for accelerating cooling are valuable tools, but they raise a natural question about where refrigeration fits into your broader frosting strategy. You can now determine when the refrigerator becomes your ally rather than your enemy.
| Cooling Stage | Refrigerator Role | Frosting Preparation Benefit |
|---|---|---|
| Hot/Warm Cake | Avoid completely | Prevents condensation disasters, structural collapse |
| Room-Temperature Cooled | Optional storage | Facilitates trimming, firms layers for buttercream handling |
| Crumb Coat Applied | Chill 15–30 minutes | Sets surface, seals crumbs before final decoration |
| Long-Term Storage | Wrap carefully, freeze briefly | Maintains freshness without freezer burn damage |
This knowledge forms your foundation for successful cake frosting. You’re crafting edible architecture where timing and temperature control transform your cake from crumbly chaos into a properly prepared surface for decoration.

【NON TOXIC】 P&P CHEF loaf pans are made of pure stainless steel without any harmful chemical material or toxic coatings peeling off into your food at high temperature, Great replacement for aluminum and unhealthy coating pans, Provide you healthy bakewares
【Versatile Pans】 Measured 9.2’’L x 4.9’’W x 2.5’’H, 24 Pcs in a set could help you efficiently complete plenty of different flavor of breads at a time, Easy to deal with various food, Like baking toast, brownie, cake, meatloaf, Roasting lasagna, meat, veggies, Freezer safe to used as ice cream tin

【Versatile Pans】 Measured 9.2’’L x 4.9’’W x 2.5’’H, 12 Pcs in a set could help you efficiently complete plenty of different flavor of breads at a time, Easy to deal with various food, Like baking toast, brownie, cake, meatloaf, Roasting lasagna, meat, veggies, Freezer safe to used as ice cream tin
Glaze or Frosting? Why Cooling Time Changes Based on Your Topping
How precisely do you know when your cake has cooled enough for its finishing touch? Your choice between glaze and frosting transforms the cooling time you’ll need, like selecting the right key for a lock.
- Glaze sets beautifully on a warm cake, its sugars crystallizing as heat gently dissipates
- Frosting demands patience, requiring complete coolness to prevent your buttercream from sliding into ruin
- A drizzle icing offers middle ground, forgiving slight warmth when thick frostings would rebel
- The cake’s residual heat becomes your ally with glaze, your adversary with frosting
With glaze, you can apply the topping immediately after the cake cools briefly. With frosting, the cake must reach room temperature or be chilled completely. Each technique requires different timing to achieve the best results.
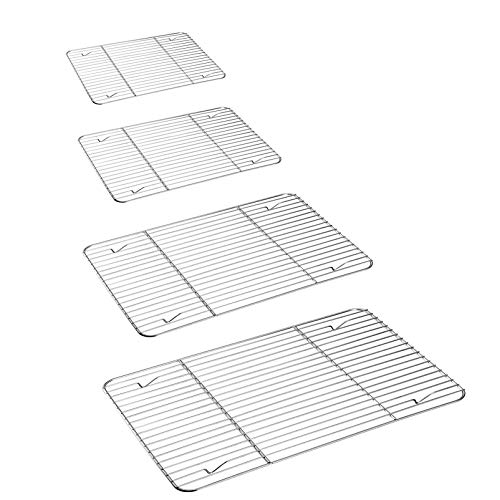
【HEALTHY MATERIALS】P&P CHEF cooling racks are made of pure stainless steel, Without any toxic materials or coatings leeching into your food, Great replacement to aluminum rack, Rust free and always keep shiny, More healthier for oven use

HEALTHY: TeamFar wire baking rack is built of pure stainless steel, Without any toxic chemical substance leaching into your food, Much safer and healthier for daily use

TOXIC FREE & HEALTHY – TeamFar cooling racks are made of food grade stainless steel core with non-stick coating, No toxic materials leaching into food and healthy for daily use, Solid construction for high resistance of bending or twisting, Serving for a long term
How to Frost Without Crumbs: Final Techniques
Why does a perfectly baked cake sometimes emerge from frosting looking as though it rolled through a field of crumbs? You haven’t waited until your cake is completely cool, and now you’re paying the price in speckled buttercream.
Patience separates the amateurs from the artisans. You must let your cake rest on a wire rack for one to two hours until no warmth lingers beneath your palm, because even slight heat turns frosting into a crumb magnet. Once your layers have reached room temperature, or better yet, enjoyed a brief chill, you’ll apply a thin crumb coat. This sacrificial seal of buttercream traps stray particles before they sabotage your finish. Chill this coat fifteen to thirty minutes, then spread your final frosting with confidence to achieve the smooth, pristine surface that indicates professional-level baking technique.
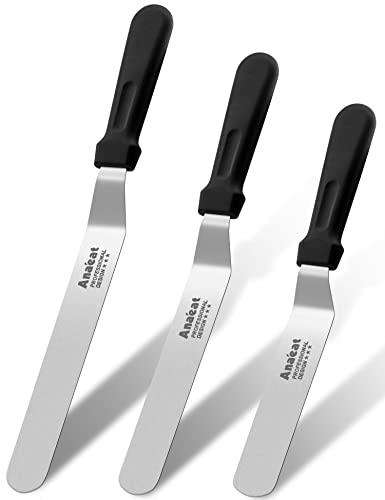
PERFECT BALANCE BETWEEN STIFFNESS & FLEXIBILITY: Anaeat Spatula gives you more control when icing your cake. The Professional Angled cake spatula is good to move easier when frosting cake. Great for frosting and smoothing icing on cakes to keep your hands and finger away from the icing.

Premium Material: The Cake Servers are Made of high quality food-grade stainless steel without toxic coating, Better rust proof and corrosion resistant, High hardness steel with solid construction to ensure long-lasting serving, No easy to break and damage, Durable and healthy for everyday use

Value Pack: Offers 6 inch, 8 inch and 10 inch offset spatulas for different sizes of cakes and baking needs. Suitable for different age groups and usage scenarios to meet various needs.